A freshly installed commercial roof should give you peace of mind. It represents a significant investment in your building’s protection, one that will shield your assets and operations for years to come. However, the work doesn’t end when the crew packs up and leaves. Conducting a thorough commercial roof inspection immediately after installation is one of the smartest moves you can make as a property owner or facility manager.
I’ve seen too many building owners assume that a new installation means everything is perfect. Even the best contractors can leave behind minor issues that, if caught early, are easy fixes. This guide walks you through exactly what to look for during your new roof walkthrough so you can protect your investment from day one.
What to Check After Having a New Roof Installed
The first step in any post-installation review is ensuring the job site is clean and safe. Leftover nails, tools, and debris pose genuine safety hazards to anyone accessing the roof. Walk the perimeter of your building and check for any materials that may have fallen during installation.
Your post roof installation checklist should include verifying that all packaging, scrap materials, and protective coverings have been removed. Check dumpsters and staging areas to confirm the contractor has completed their cleanup responsibilities. A professional crew leaves the site as clean as they found it.
What to Look for When Inspecting a Commercial Roof
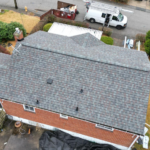
The roof membrane is your building’s primary defense against the elements. During your inspection, look carefully for any tears, punctures, or blisters in the roofing material. These defects can appear if materials are mishandled or if workers accidentally damage the surface.
Pay close attention to seams and overlaps. They should lie flat without any gaps or wrinkles. The membrane should appear uniform across the entire roof surface without discoloration or inconsistent texture.
Flashing and Seals
Flashing failures are among the leading causes of roof leaks, even on brand-new installations. Inspect all flashing around walls, penetrations, and roof edges. The metal should be securely fastened with no visible gaps between the flashing and the roof surface. Look for any signs of corrosion or improper sealing at transition points.
Every penetration point needs careful examination. Vents, pipes, skylights, and HVAC curbs create natural weak points in the roofing system. The sealant around these areas should be complete and uniform. Any missed spots or thin application can lead to water intrusion down the road.
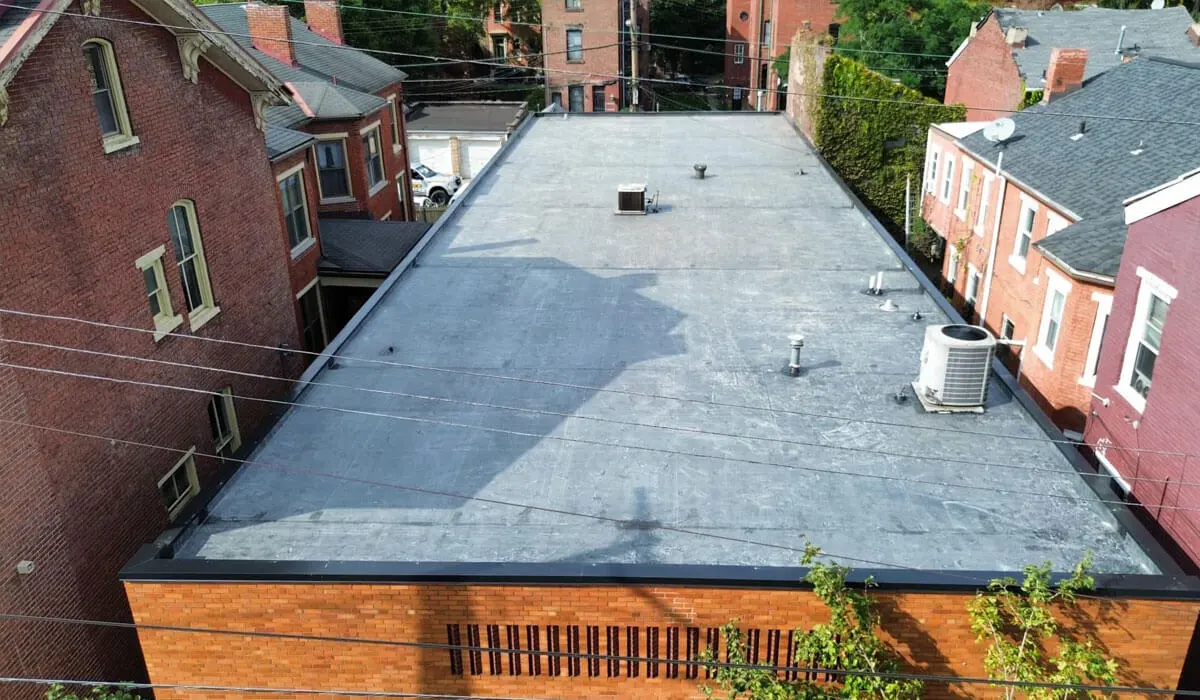
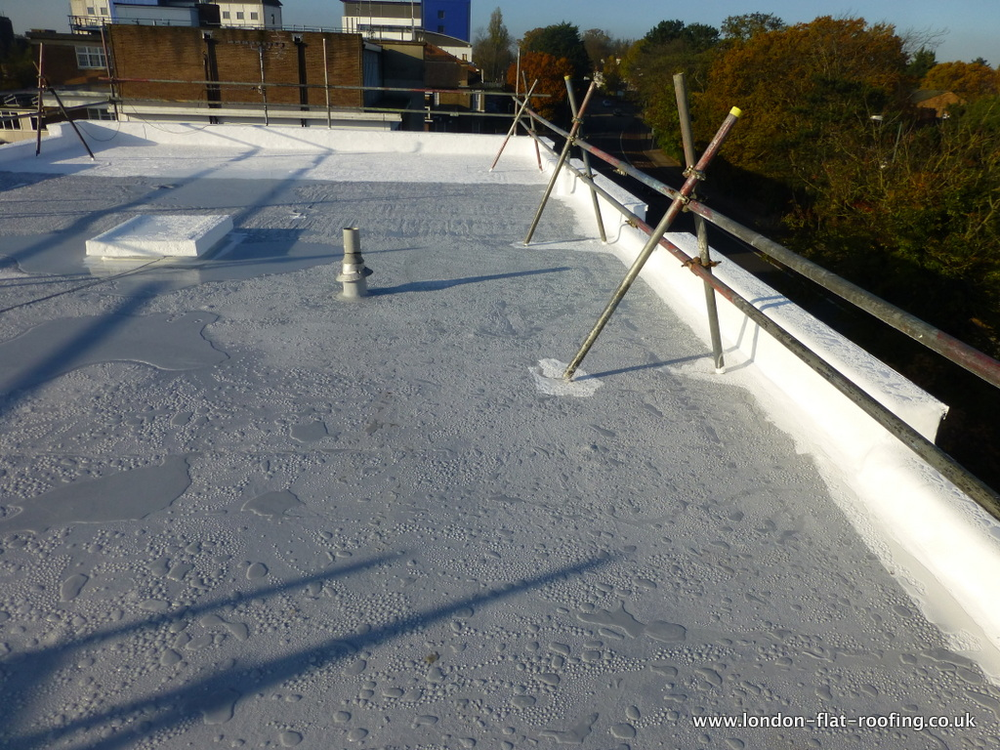
Drainage Systems and Ponding Water
Proper drainage keeps your commercial roof healthy. During your walkthrough, verify that all gutters, downspouts, and internal drains are clear of debris and functioning correctly. Water should flow freely from the roof surface without pooling or backing up.
Ponding water is a serious concern on flat commercial roofs. Look for any areas where water has collected or where staining suggests water has been sitting. Stagnant water accelerates membrane deterioration and adds unnecessary weight to your structure. If you notice ponding within 48 hours after rain, contact your contractor immediately.
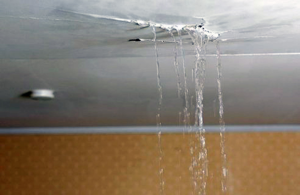
How to Inspect a Roof After Installation: Interior Checks
Your inspection shouldn’t stop at the roof surface. The interior of your building reveals important clues about your new roof’s performance. Examine ceilings and walls directly below the roof line. Fresh water stains, bubbling paint, or any signs of mold indicate potential problems.
If your building has an accessible attic or crawlspace, inspect the insulation and decking. Damp spots or compressed insulation suggest moisture is getting through. Check around penetration points where pipes and vents pass through the roof. According to the National Roofing Contractors Association, these transition areas require the most careful attention during any inspection.
What Are the Red Flags for Roofing Contractors?
Even after a job is complete, certain warning signs indicate you may have worked with an unreliable contractor. Incomplete cleanup is often the first indicator. Professional roofing companies take pride in leaving sites clean. Scattered debris suggests cutting corners elsewhere too.
Watch for nail pops or improperly driven fasteners. These issues point to rushed workmanship or inexperienced crews. Missing or incomplete warranty documentation is another major concern. Reputable contractors provide detailed paperwork covering both materials and labor warranties without you having to chase them down. For expert guidance on identifying quality contractors in your area, reach out to a trusted Pittsburgh commercial roofing specialist.
Key Issues to Watch For During Your Inspection
| Issue | What It Indicates |
|---|---|
| Ponding Water | Drainage problems or membrane shrinkage issues |
| Nail Pops | Fasteners driven incorrectly or rushed installation |
| Improper Flashing | Leading cause of leaks on new commercial roofs |
| Poor Ventilation | Moisture buildup and future insulation damage |
| Membrane Blisters | Trapped moisture or adhesion failure during installation |
Rooftop Equipment and Penetration Points
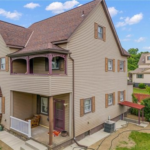
Modern commercial buildings often feature HVAC units, exhaust fans, and other equipment mounted directly on the roof. Each creates a potential entry point for water if not properly integrated. Check that all equipment curbs are securely flashed and sealed. The contractor should have installed proper pitch pans or boot seals around pipes.
Verify that equipment is stable and properly anchored. Any movement or vibration can break seals over time. Document the condition of all rooftop equipment as part of your post roof installation checklist for future reference.
Ventilation and Structural Considerations
Proper ventilation protects your roof from the inside out. Confirm that all intake and exhaust vents are unobstructed. Blocked ventilation leads to moisture accumulation, which can damage insulation and promote mold growth.
From inside the building, look for any signs of sagging in the roof decking. While this is rare after a new installation, it could indicate structural issues that existed before the new roof was installed or problems with the installation itself. Any visible deflection warrants immediate professional evaluation. For additional maintenance guidance, explore our Sustainable Roofing Options: Recycling Asphalt Shingles resource.
Documenting Your New Roof Walkthrough
Thorough documentation serves multiple purposes. Take photographs of every area you inspect, even if everything looks perfect. These images establish a baseline condition that proves invaluable if issues arise later.
Create a written record of your findings and share any concerns with your contractor promptly. Most reputable contractors offer a warranty period during which they address punch list items at no additional charge. The sooner you identify problems, the easier they are to resolve.
Protecting Your Commercial Roofing Investment
Your new commercial roof represents a substantial financial commitment. Taking the time to conduct a comprehensive inspection immediately after installation protects that investment and sets the stage for years of reliable performance. Small issues caught early rarely become expensive problems.
Schedule regular inspections going forward, ideally twice per year and after any severe weather events. A proactive maintenance approach extends roof life significantly and helps maintain warranty coverage. When you need professional support with installation verification or ongoing maintenance, partner with experienced Pittsburgh commercial roofing professionals who understand local building requirements and weather challenges.
By following this checklist and staying vigilant about your roof’s condition, you ensure your building stays protected and your investment delivers maximum value. A few hours of careful inspection today can save thousands in repairs tomorrow.